
This is the fifth part of the Flare-On 6 CTF WriteUp series.
5 - Demo
The challenge reads
Someone on the Flare team tried to impress us with their demoscene skills. It seems blank. See if you can figure it out or maybe we will have to fire them. No pressure.
** You will need DirectX 9
We have a PE file named 4k.exe. Running the binary pops up a window containing the rotating Flare logo on a black background.
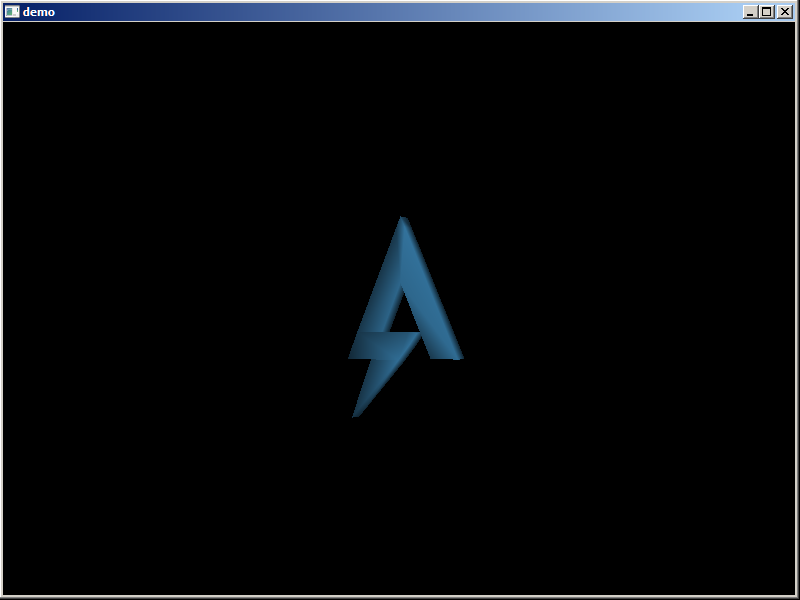
The window doesn't exhibit any other behavior. It does not respond to mouse clicks or keypresses except the ESC key which closes it.
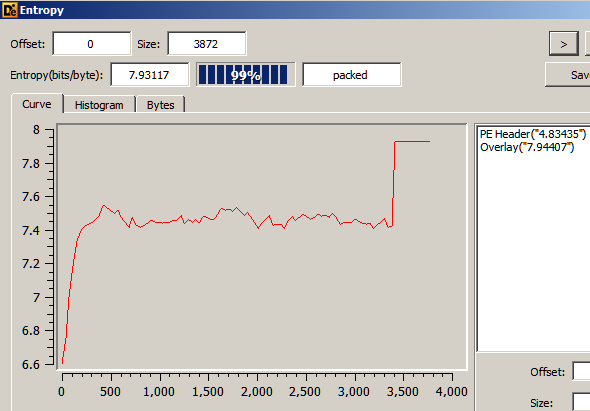
An entropy scan in Detect It Easy reveals the binary is packed.
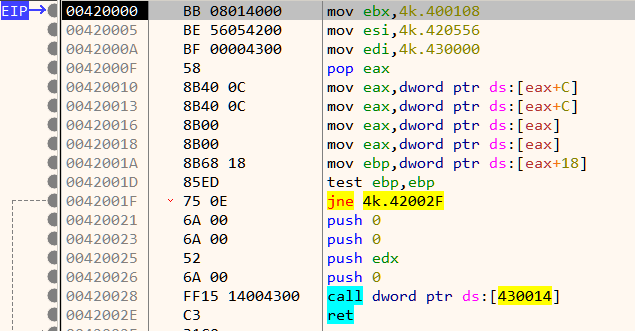
The instructions near the entrypoint does not look to be generated by a standard compiler which confirms that the binary is indeed packed.
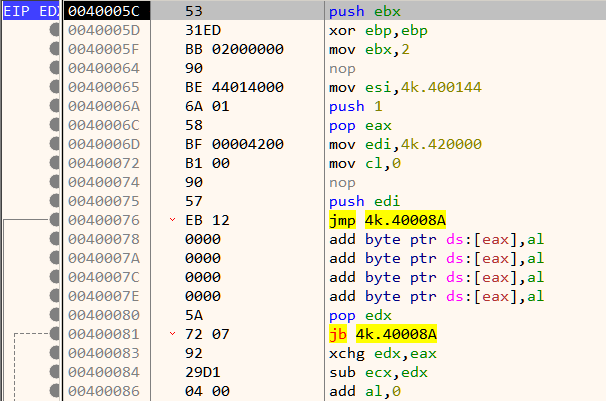
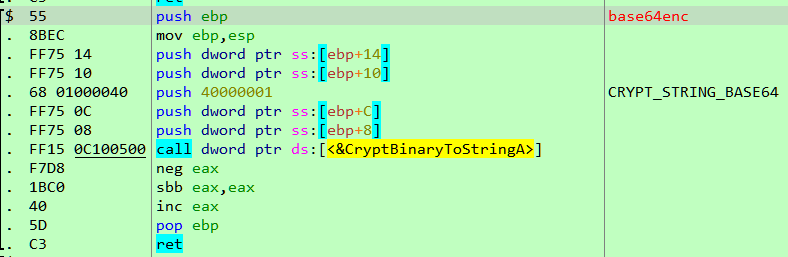
Dynamic analysis in a debugger is generally the best way when reversing packed binaries. Packed binaries have a decompression stub at the beginning whose purpose is to decompress the compressed code to a proper location in memory and transfer control to it. Analyzing the decompression stub is not always needed. Likewise, in this binary we can can bypass the decompression stub. Set a breakpoint on the ret instruction as shown in Figure 4. Its located a few lines below the entrypoint.
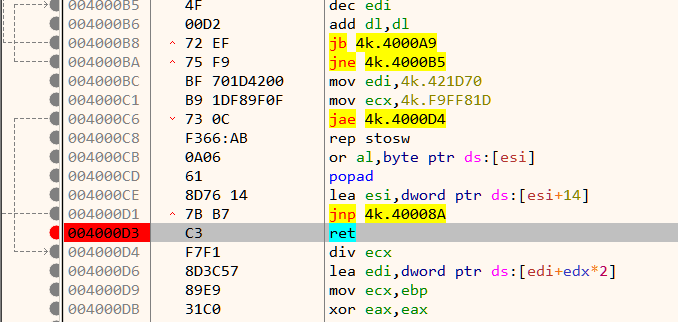
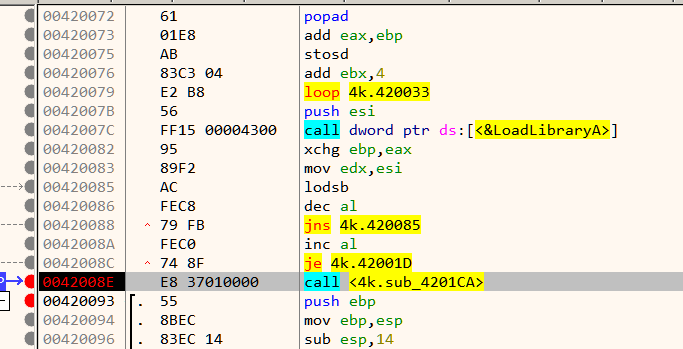
When the breakpoint hits, single step once to reach Figure 5 which is close to the Original Entry Point (OEP)
The OEP is located just below at 42008E as shown in Figure 7.
As mentioned in the challenge description, the binary requires DirectX 9 to run. To ease analysis, its recommended to have the proper pdb symbols loaded. First ensure that Symbol Store and Symbol path are set in x64dbg preference. Now go to the symbols tab, Right Click -> Download Symbols for all modules.
At the beginning we have a call to Direct3DCreate9.
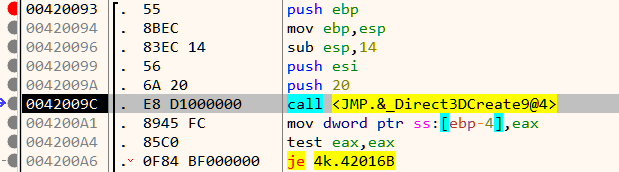
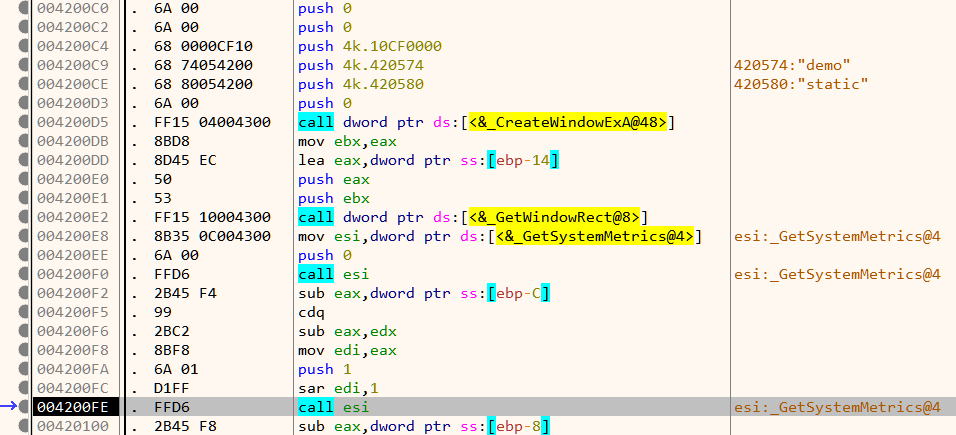
If the call is successful, it proceeds to create a window and set its size as in Figure 9.
Next down, we have a call to a function which creates two meshes. A mesh is an ordered collection of vertices describing an object.
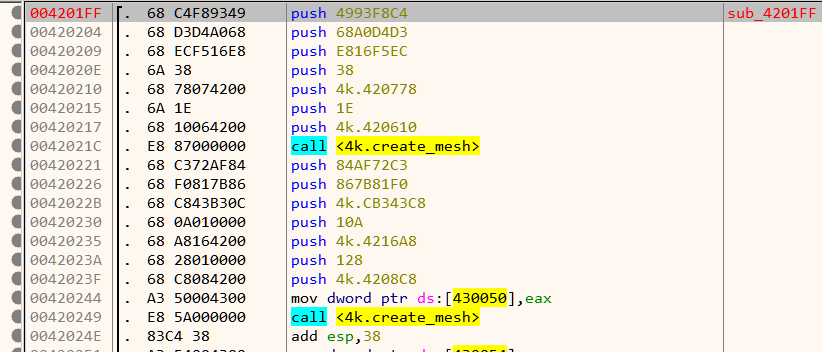
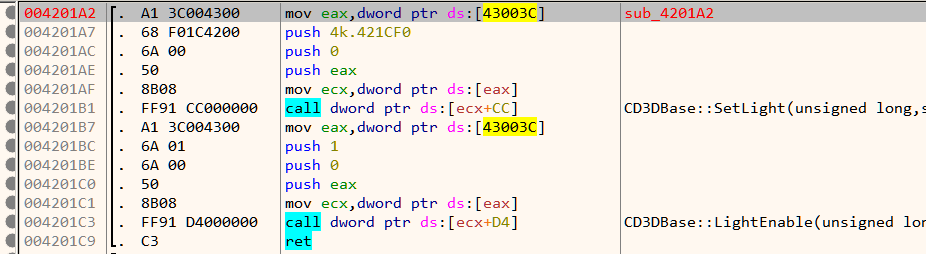
Note that the function name create_mesh is not a part of the original binary and have been added later based on the function's disassembled code. Next, it sets up lighting as shown in Figure 11.
Finally, it calls GetAsyncKeyState in an infinite loop listening for the state of the ESC key.
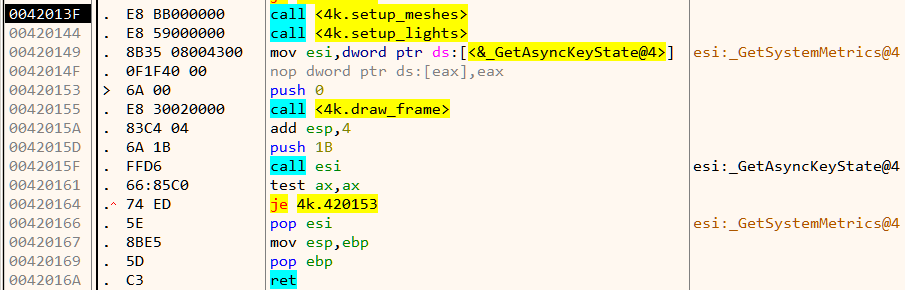
If ESC is not pressed. it goes on to draws a frame. This continues in a loop.
Analyzing setup_meshes
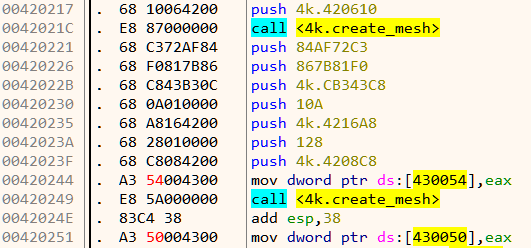
Inside setup_meshes we already saw two calls to create_mesh as in Figure 10. That's strange considering we can only see a single mesh on the window - the rotating Flare logo. Let's look inside create_mesh.
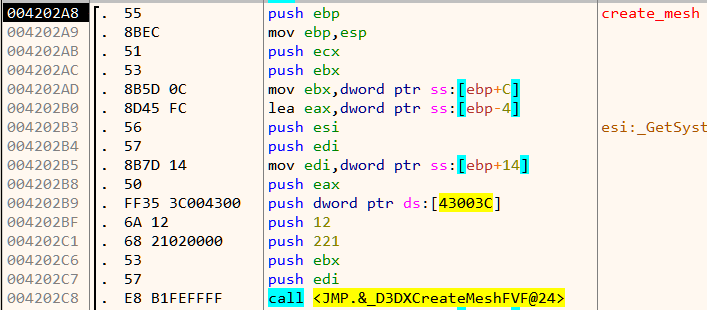
There is a call to D3DXCreateMeshFVF. The first two parameters of this function are the number of faces and number of vertices of the mesh respectively. Lets find out the number of faces and vertices for each of the mesh. This can be done by simply setting a breakpoint at the call instruction and inspecting the stack.
For the first mesh,
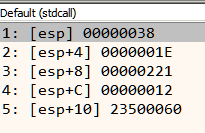
Number of faces = 0x38 = 56
Number of vertices = 0x1E = 30
For the second mesh,
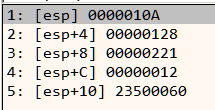
Number of faces = 0x10A = 266
Number of vertices = 0x128 = 296
The second mesh has a large number of faces and vertices and its highly unlikely that it is the Flare logo. This mesh is probably hidden/not drawn and that's why we cannot see it on the screen. Let's see if we can make it visible.

The return value from create_mesh in eax is stored in memory as shown in Figure 16. For the first call, this goes to 0x430050, and 0x430054 for the second. Lets interchange those two memory locations. This can be easily done in x64dbg by double clicking the instruction and changing the addresses. Our patched code looks like Figure 17.
Now all that is left is to see the changes in action!
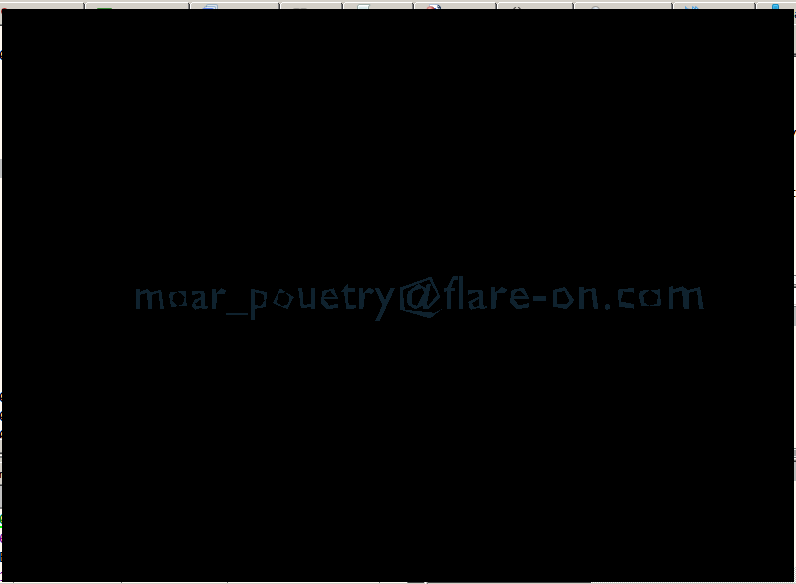
Instead of the rotating Flare logo, we have the rotating flag. Thus the second mesh was indeed the flag.

)
)
)
)