Flare-On is a CTF-style reverse engineering challenge organized by the FLARE team at FireEye Labs annually. This year there were a total of 12 challenges with increasing difficulty. Through these series of blog posts, we will go through the challenges one by one. It is to be noted there are multiple ways to approach a problem and process described here reflects the just the views of the author. Without further ado, let's jump right in.
1 - Minesweeper Championship Registration
Welcome to the Fifth Annual Flare-On Challenge! The Minesweeper World Championship is coming soon and we found the registration app. You weren't officially invited but if you can figure out what the code is you can probably get in anyway. Good luck!
The first problem is as simple as it gets. A Java Archive (jar) file is provided. Running the jar prompts us for an invitation code.
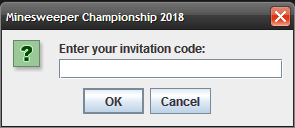
Decompiling the jar file with a Java decompiler such as jadx-gui reveals the correct invitation code which is also the flag for this level.

Providing the invitation code displays the success message.
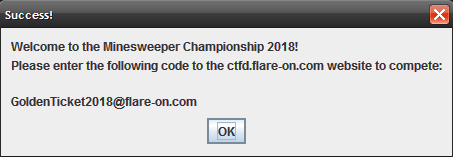
FLAG: GoldenTicket2018@flare-on.com
2 - Ultimate Minesweeper
You hacked your way into the Minesweeper Championship, good job. Now its time to compete. Here is the Ultimate Minesweeper binary. Beat it, win the championship, and we'll move you on to greater challenges.
The binary for the second challenge is a Portable Executable (PE) named UltimateMinesweeper.exe. Running the binary, we are presented with a game that looks like the classic Minesweeper but with a huge board.
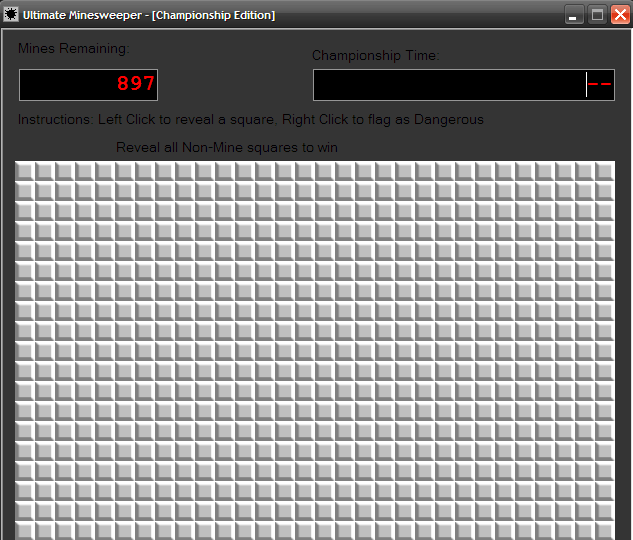
As shown in the figure above, there're 897 mines in total. The task is to reveal all non-mine squares to win. The usual rules of minesweeper apply, we can left-click a square to mark it as dangerous. The game looks simple. Shall we try a hand in this game?
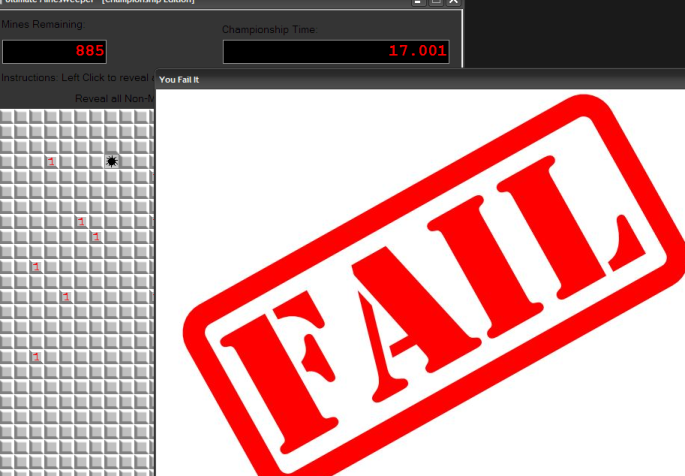
Our attempt was short-lived, and the giant "FAIL" sticker says precisely that. It's looks trying like this won't cut it. After all, this is a reverse engineering challenge and meant to be hacked not played.
Dropping the binary in CFF Explorer we can quickly see that it's a .NET Assembly.
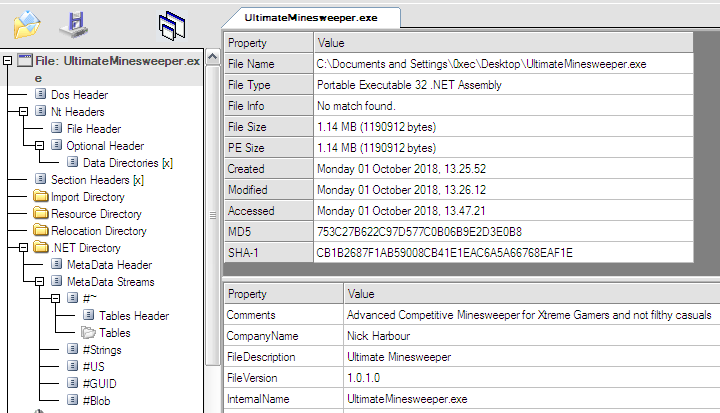
The best tool for reversing .NET binaries is undoubtedly dnSpy. It can decompile, debug, edit and offers a host of other features. Opening the file in dnSpy shows six classes under the UltimateMinesweeper namespace.
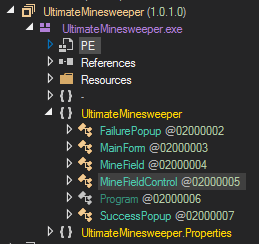
Among them, the MainForm class implements the program logic.
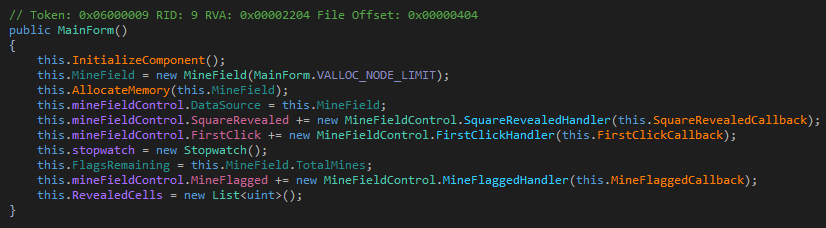
The constructor initializes the board and sets up the event handlers. There's call to a function AllocateMemory which seem to initialize the board. Let's have a look.
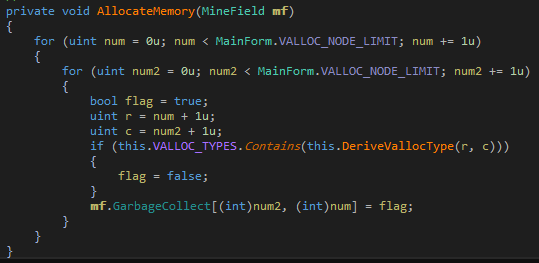
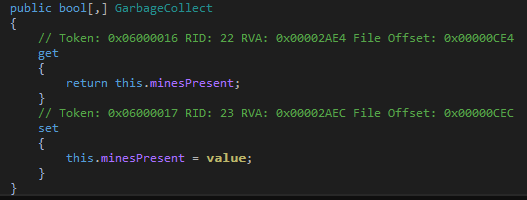
There are two nested loops from 0 to VALLOC_NODE_LIMIT which contains the value 30. Essentially, this means the board is of size 30x30. For each square, it sets a boolean value in the flag variable which looks to be assigned to an array named GarbageCollect. Clicking on the name reveals that this is a property for getting and setting the value of the minesPresent array in the MineField class.
If we debug the binary and set a breakpoint on the flag = false we should be able to find out the positions of all the non-mine squares. However, this is one-half of the equation. The minefield contains 900 squares. We don't want to manually click on the right square after counting the row and column indices visually.
We want to click on any square, and change the click position while debugging to match that of the non-mine squares. For this, we have to inspect the event handlers. The MineFieldControl_MouseClick method is responsible for handling a mouse click on the board.
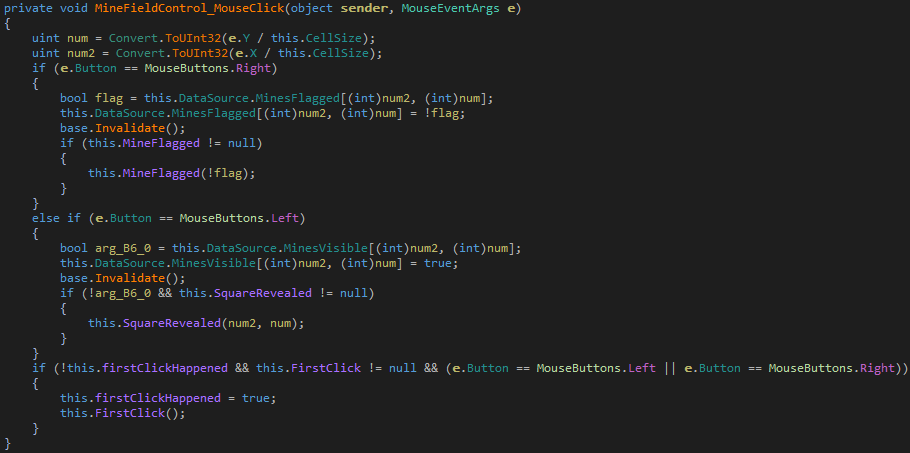
First, it calculates the row and column position of the click and stores it in the variables num and num2 respectively. Next, it checks which mouse button was pressed and proceeds accordingly. This is where we want to set the second breakpoint. With the two breakpoints in place let's debug.
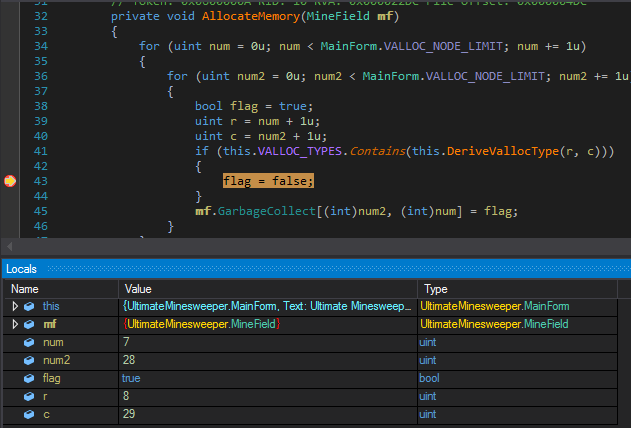
When the first breakpoint hits, we can check in the locals window that num2 and num have the values of (28,7). This is a non-mine square. Resuming, we can find out the remaining non-mine square positions (7,20) and (24,28).
Now after we found out the three non-mine squares, let's click on any square on the board. The second breakpoint will hits.
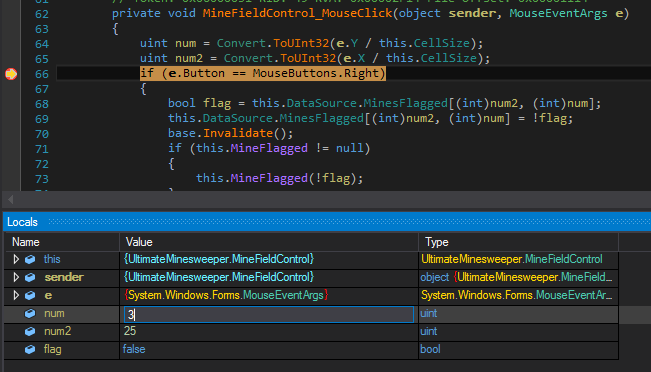
In the locals window, we can edit the value of (num2,num) from (25,3) to (28,7) the first non-mine square. Similarly, we can match our next clicks to (7,20) and (24,28). When done correctly, we get the success message.
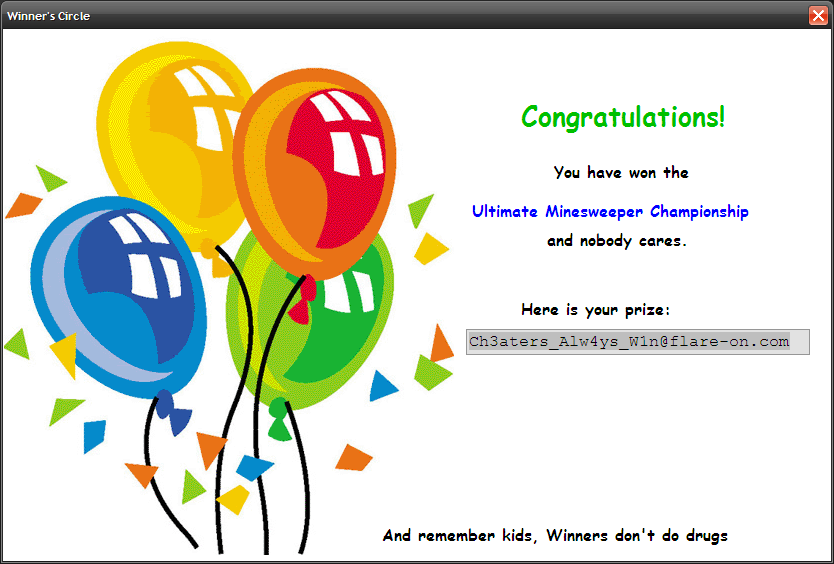
FLAG: Ch3aters_Alw4ys_W1n@flare-on.com
3 - FLEGGO
When you are finished with your media interviews and talk show appearances after that crushing victory at the Minesweeper Championship, I have another task for you. Nothing too serious, as you'll see, this one is child's play.
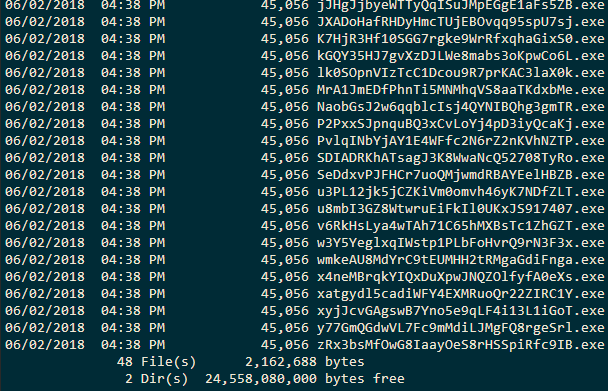
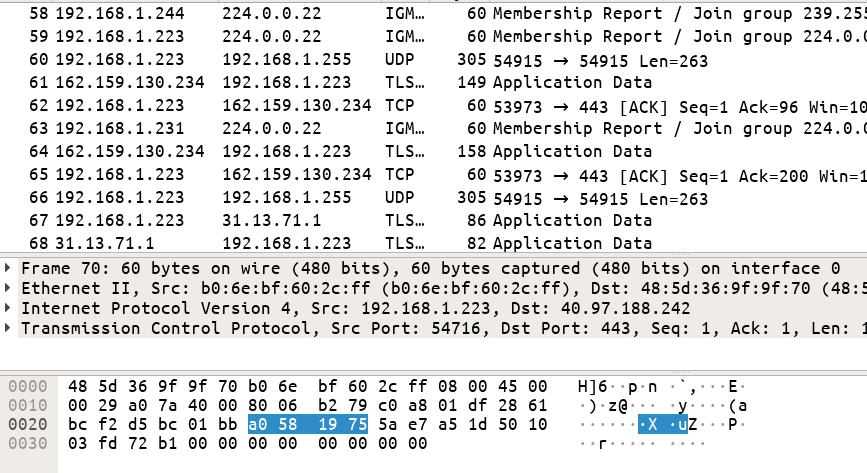
The third challenge is comprised of more than one file. There are 48 different PE files having seemingly random names resembling base64 encoded strings.
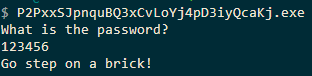
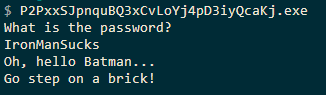
Running any one prompts for a password.
Lets debug this in x64dbg.
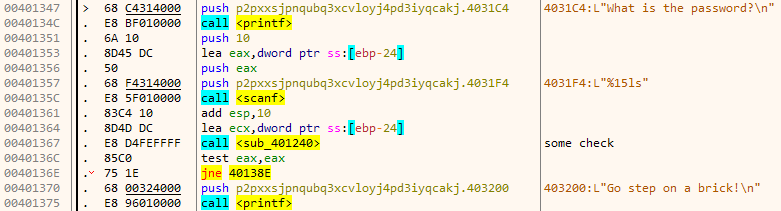
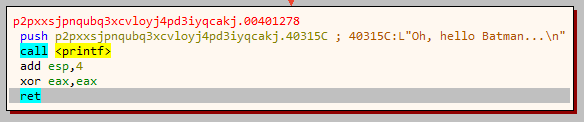
The scanf call at 40135C reads in the password which is passed on to function sub_401240. If it returns zero the fail message is printed.
sub_401240 compares our input password to the string "IronManSucks".

However, if we use this as our password, we still get the same fail message. Let's go deeper.
The reason for this is the function still returns zero even after our password matches with "IronManSucks" which means this isn't the correct password.
Going down a few lines in the same function we see our input is compared with the string "nLSGJ2BdwC".

This is indeed the correct password.
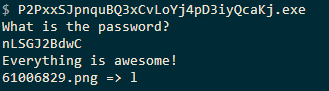
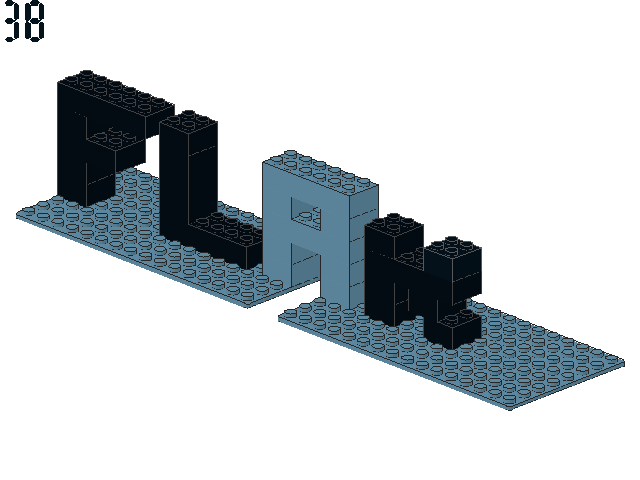
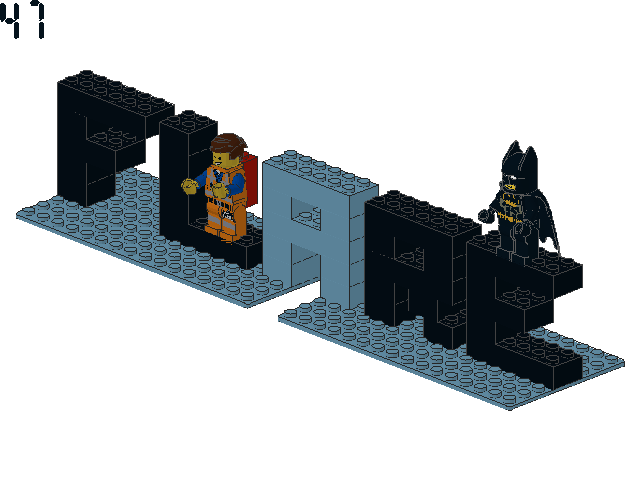
In addition, it created a file named 61006829.png with the image below. Note there is a character after the => symbol.
All of the 48 binaries in the challenge have the same structure. It reads a password, compares it and if correct drops a PNG. Now we need to devise an automated way to find the correct password of each binary and run them appropriately to get the PNGs.
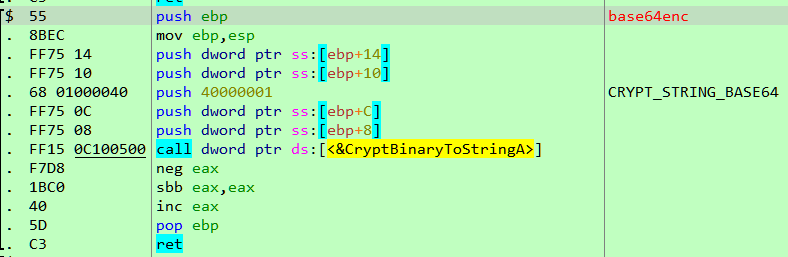
Let us find out how the correct password generated. The function sub_401000 loads a resource named BRICK.
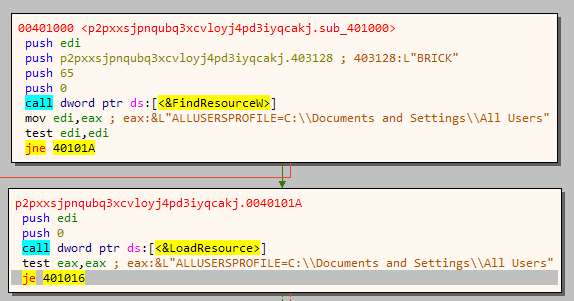
If we open the binary in a Resource Editor such as ResHacker we can see the first few bytes contain the password.
Using lief we can write a Python script to parse the resource section of each PE and obtain the password.
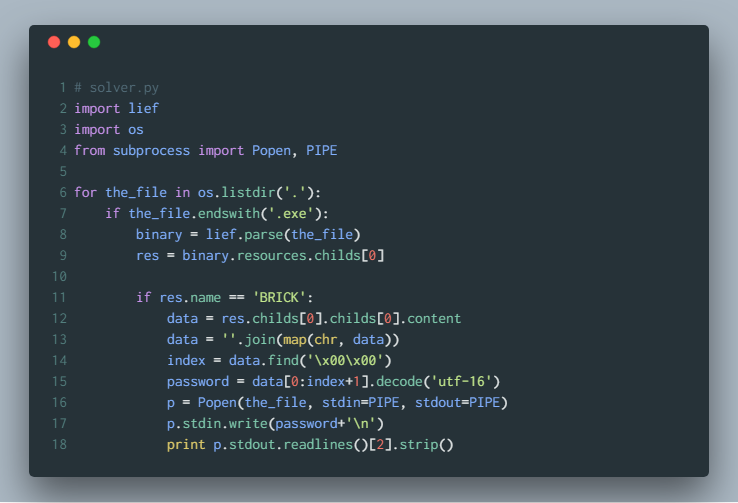
The script runs the binaries using the password and also prints the last line of the output where it shows the PNG file name followed by a character. Running we get an output like below along with 48 images. A filename followed by a character.
12268605.png => s
13147895.png => w
15566524.png => e
16295588.png => a
16544936.png => e
16785906.png => 4
18309310.png => @
18376743.png => _
19343964.png => o
30171375.png => s
33098947.png => _
33662866.png => r
33718379.png => .
36494753.png => 0
36870498.png => m
37723511.png => n
42255131.png => t
44958449.png => _
47202222.png => n
47619326.png => p
47893007.png => _
51227743.png => a
52817899.png => n
58770751.png => o
60075496.png => s
61006829.png => l
61333226.png => f
63223880.png => a
64915798.png => 3
65141174.png => w
65626704.png => 3
67322218.png => _
67782682.png => m
70037217.png => m
71290032.png => a
72263993.png => h
72501159.png => c
72562746.png => -
73903128.png => u
75072258.png => r
79545849.png => s
80333569.png => o
82100368.png => m
82236857.png => e
85934406.png => m
87730986.png => 0
88763595.png => e
89295012.png => 0
Each of the PNG images has a number from 1 to 48 on the top-left.
Sorting the images manually by the numbers written on them and using the file name to character mapping obtained from the script we get a list of characters. For example, 67782682.png contains the digit 1.
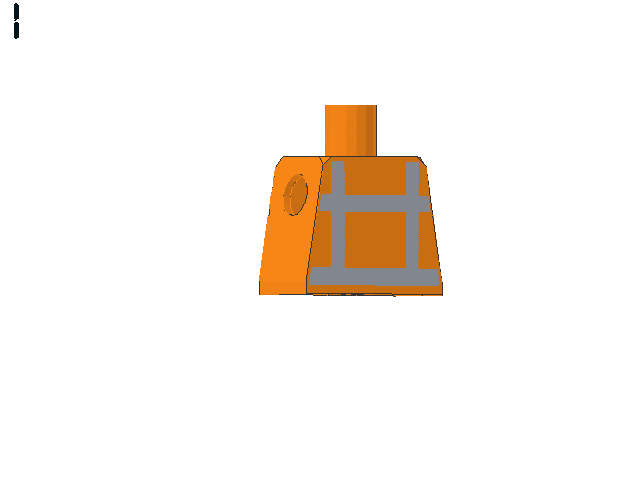
Corresponding to this file we have the character 67782682.png => m. Concatenating all the characters gives the flag.
FLAG: mor3_awes0m3_th4n_an_awes0em_p0ssum@flare-on.com
Continue with the next part: Flare-on 5 CTF Write-up (Part 2)

)
)
)