In this post, we will have a look at how we can perform Firmware Emulation of a given IoT device.
Firmware Emulation can serve a number of different purposes such as analyzing the firmware in a better way, performing exploitation, performing remote debugging and so on.
With this technique, you can emulate a Firmware originally meant to be run on a different architecture, and interact with it, even without having a physical IoT device.
One of the earlier ways of performing Firmware Emulation was to create a Qemu image and then copy the firmware file system's contents on to the Qemu image and then launch the image.
However, there exists a much simpler alternative which is also prone to give you lesser issues while emulating firmware. Let's have a look.
Tools that you would require:
- AttifyOS VM or any Linux based image
- Firmware Analysis Toolkit (https://github.com/attify/firmware-analysis-toolkit)
- A firmware that you want to emulate (for ex - Netgear WNAP320 )
Setting things up
Once you have all three of the above components, the first step is to set up Firmware Analysis Toolkit.
Firmware Analysis Toolkit is simply a wrapper around the actual project Firmadyne and automates the process of emulating a new firmware.
To download and install FAT, simply clone the git repository recursively as shown below:
git clone --recursive https://github.com/attify/firmware-analysis-toolkit.git
Next, we will need to setup the individual tools such as Binwalk, Firmadyne and Firmware-Mod-Kit.
Set up Binwalk
To Set Up Binwalk, simply install the dependencies as below and then go ahead and install the tool :
cd firmware-analysis-toolkit/binwalk
sudo ./deps.sh
sudo python setup.py install
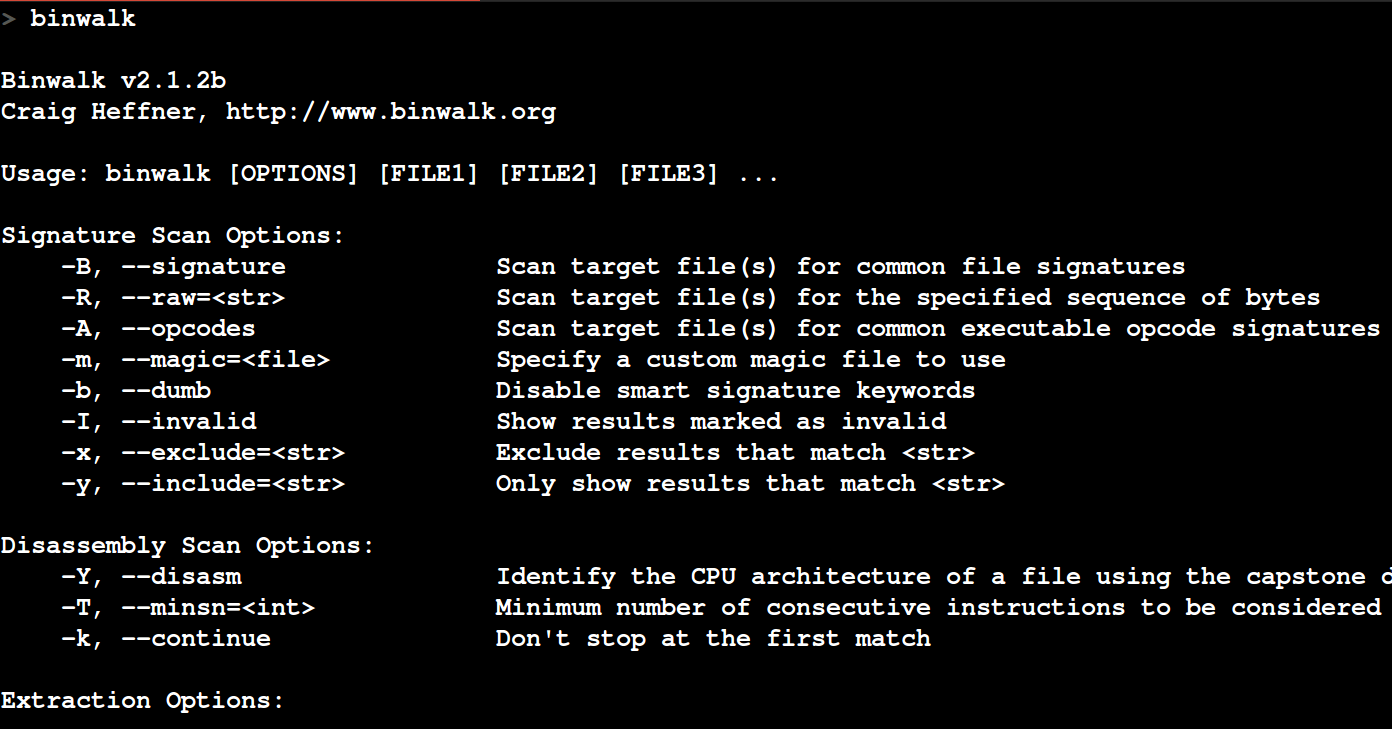
If everything went well, you would be able to run binwalk and receive an output as shown below.
Set up Firmadyne
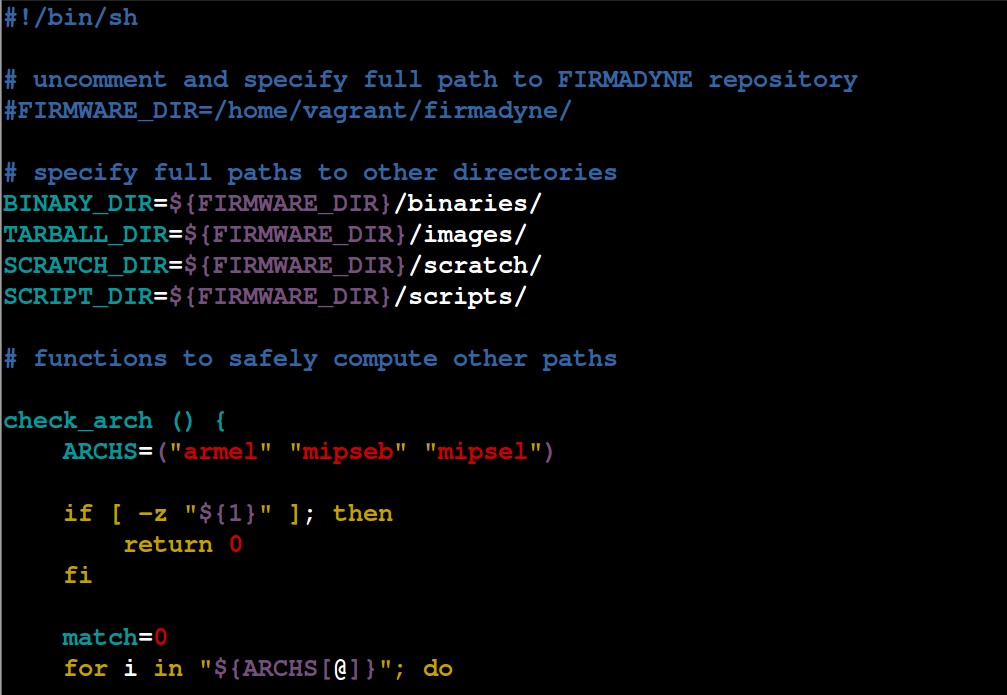
To setup Firmadyne, navigate to the Firmadyne folder and open up firmadyne.config. It should look as shown in the picture below.
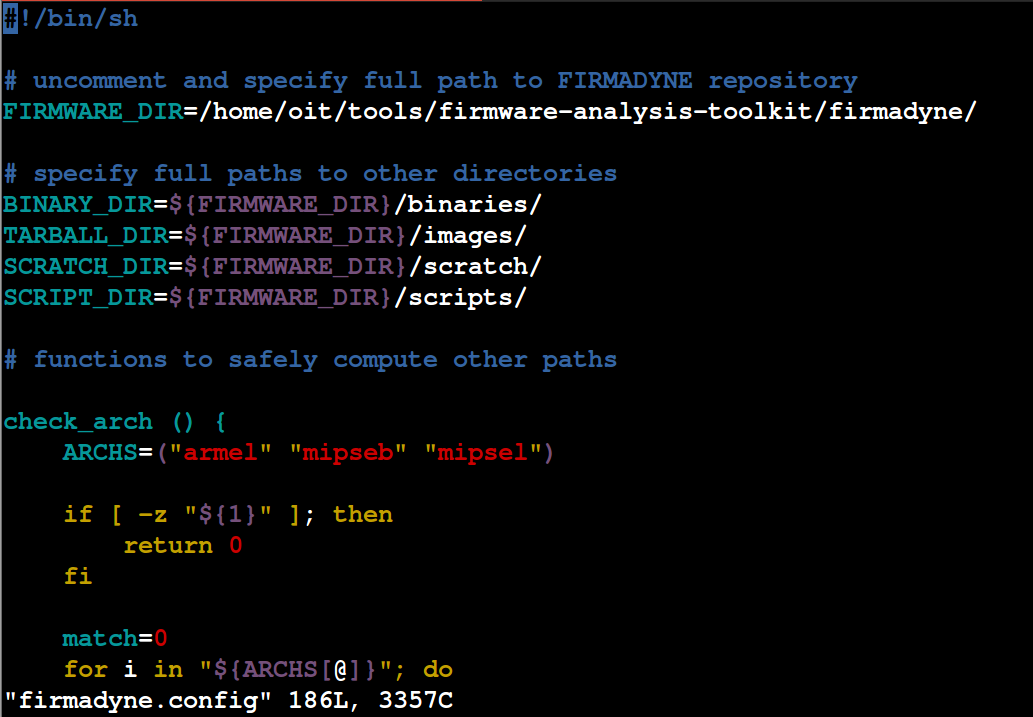
Uncomment the line saying FIRMWARE_DIR=/home/vagrant/firmadyne/ and modify the address to the current path of Firmadyne. The updated line in my case looks like as shown below.
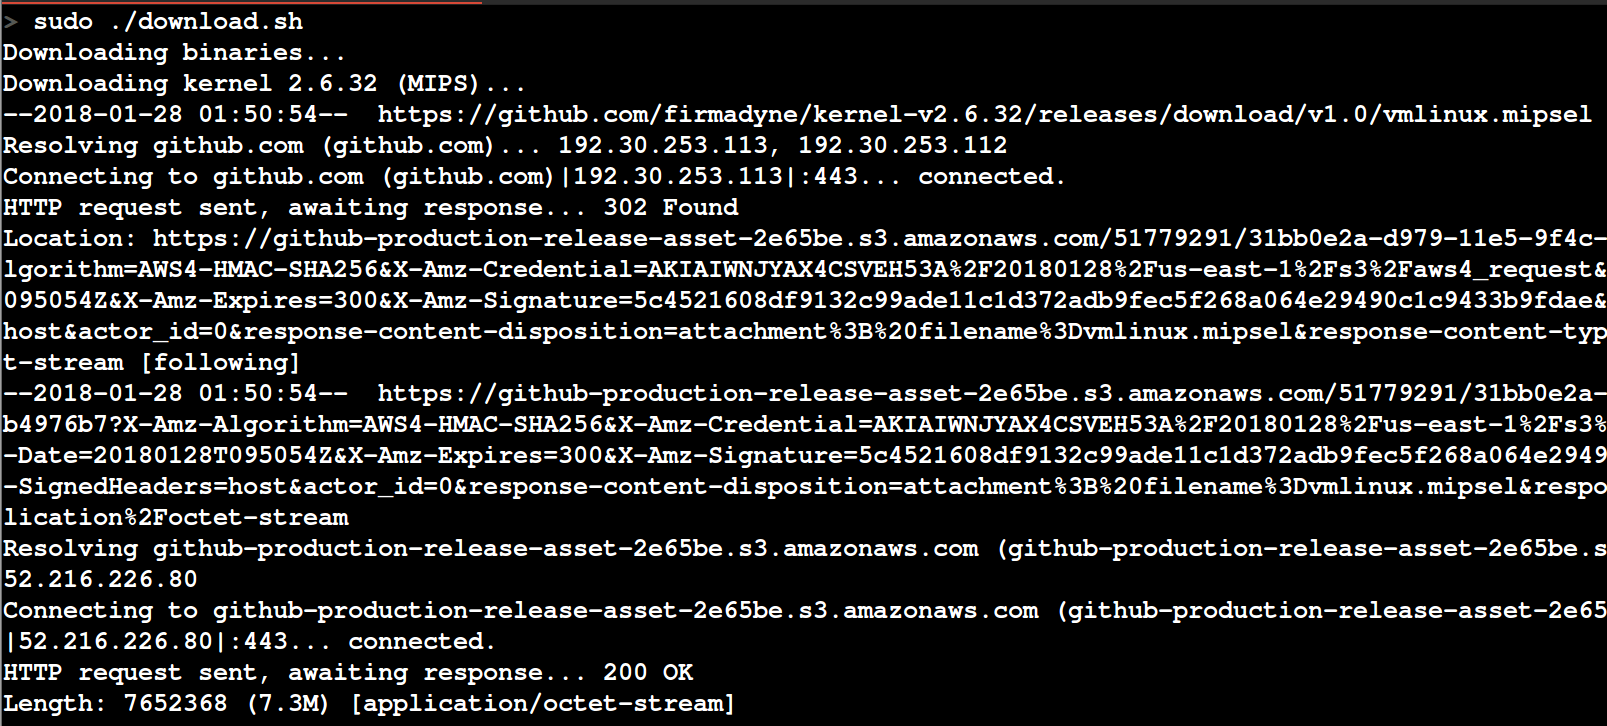
Once you have updated the path, the next step is to download the additional binaries required for Firmadyne to work. This might take a while (1-2 mins on a good internet connection) - so have a coffee (or beer) at this point of time.
Once it is done, the next step is to install the remaining depencies for Firmadyne to function properly:
sudo -H pip install git+https://github.com/ahupp/python-magic
sudo -H pip install git+https://github.com/sviehb/jefferson
sudo apt-get install qemu-system-arm qemu-system-mips qemu-system-x86 qemu-utils
Also set up a PostgreSQL database at this point following the instructions from the official Firmadyne wiki:
sudo apt-get install postgresql
sudo -u postgres createuser -P firmadyne
sudo -u postgres createdb -O firmadyne firmware
sudo -u postgres psql -d firmware < ./firmadyne/database/schema
The password for the database when prompted should be firmadyne (to avoid any later issues).
That is all for the setup of Firmadyne.
Set up Firmware Analysis Toolkit
The first thing that we will do is move the fat.py and reset.py to inside firmadyne folder.
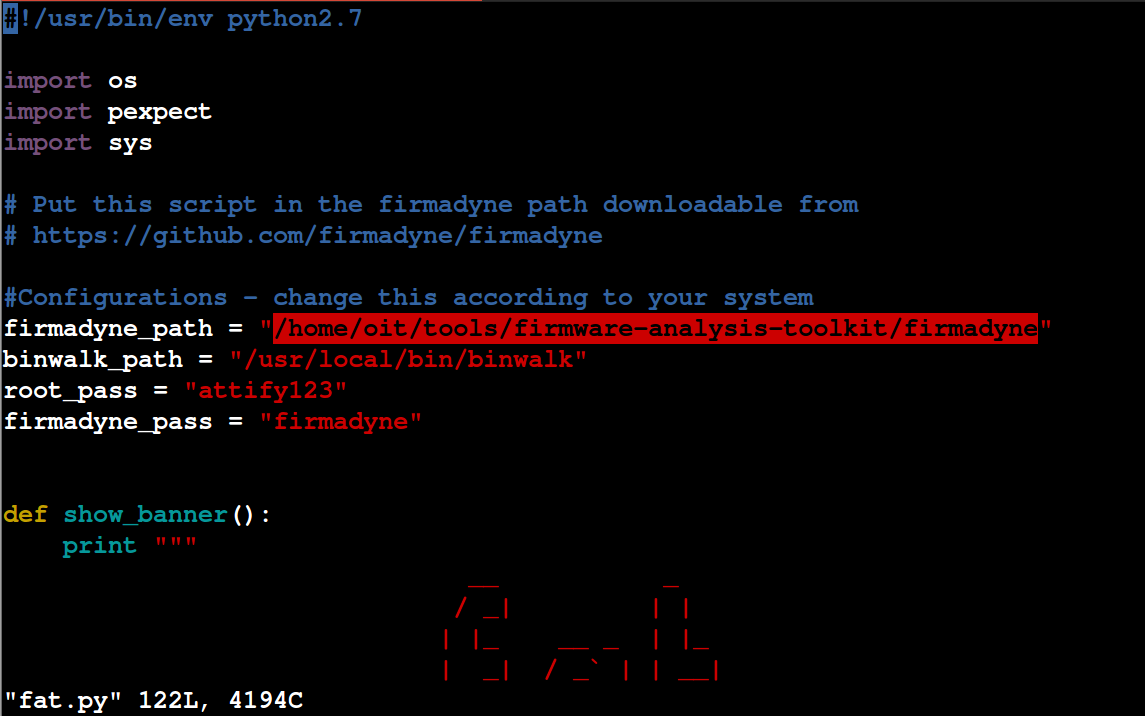
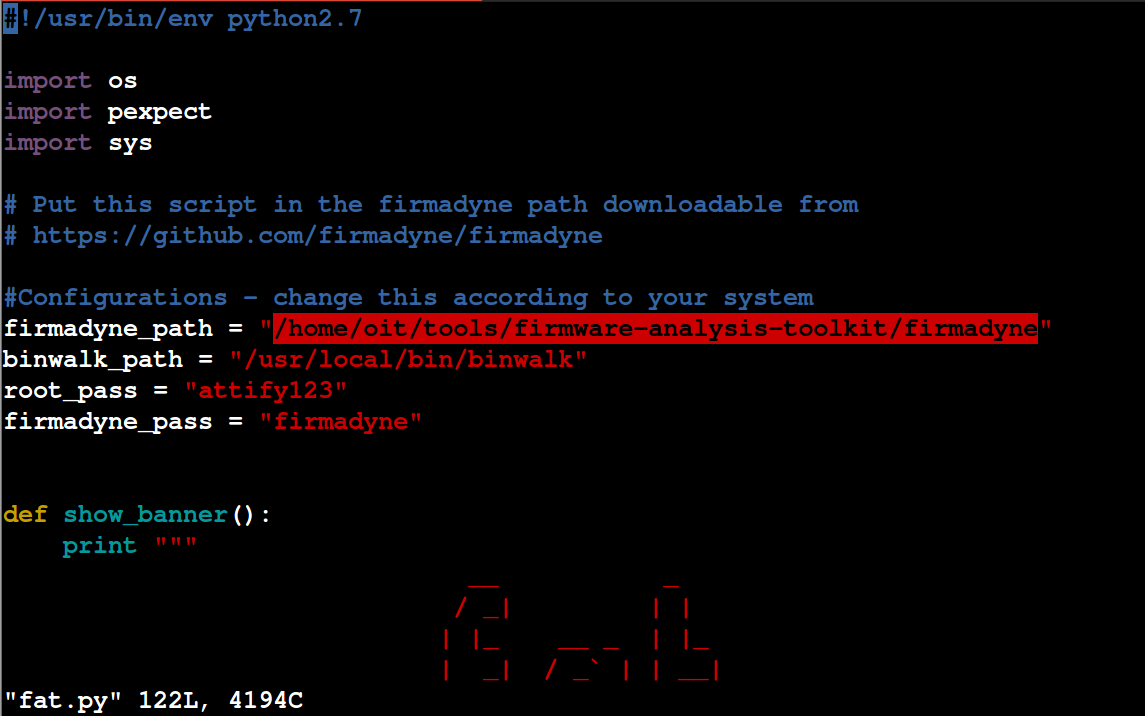
Once that is done, open up fat.py and modify the root password (so that it won't ask you for password while running the script) and specify the path of firmadyne as shown below.
That's all for the setup. Make sure that your postgresql database is up and running
.. and we are good to go.
Emulating a firmware image
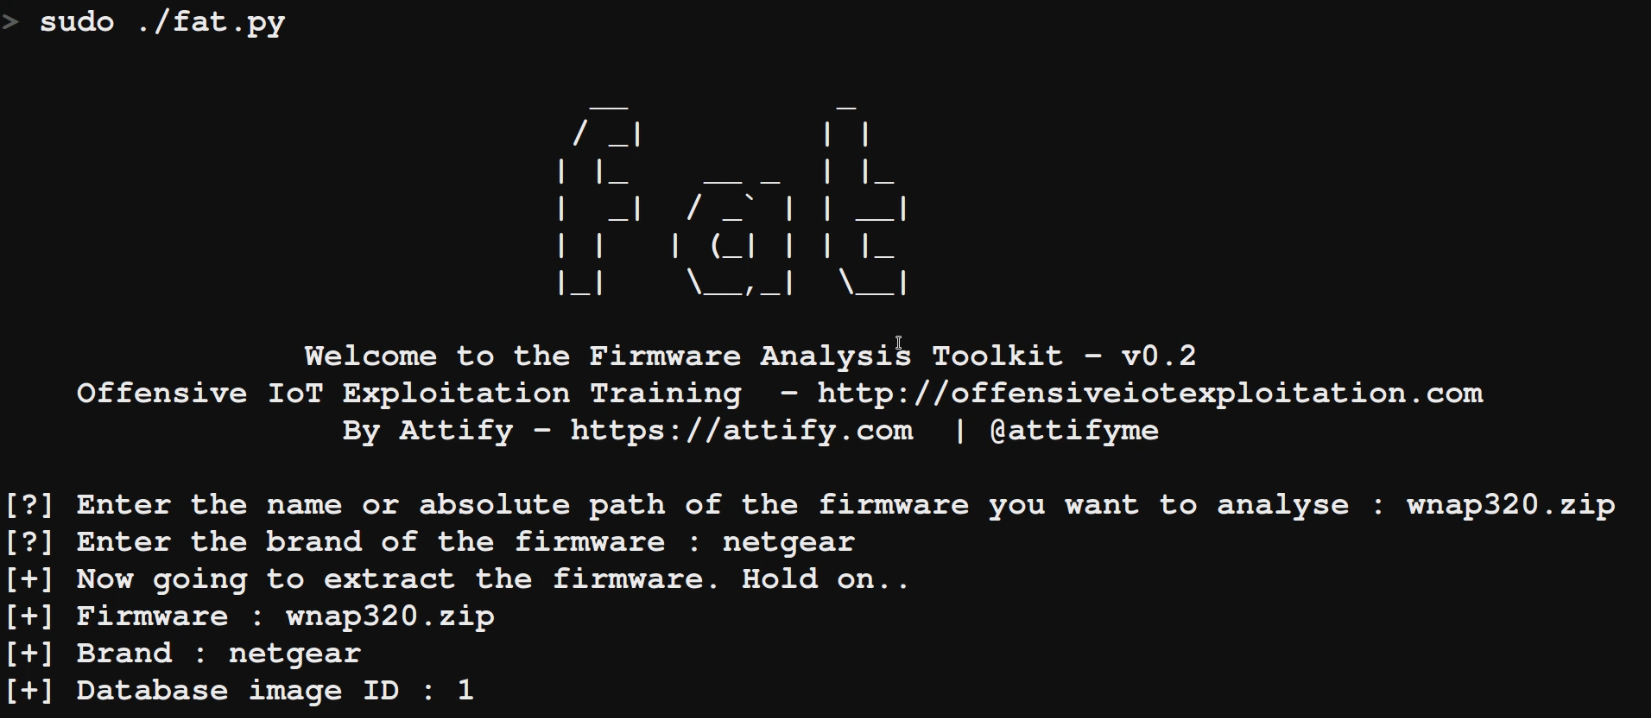
All you need to do in order to now emulate a firmware is run ./fat.py and specify the firmware name. In this case, we are running the WNAP320.zip firmware, so we will specify that.
For the Brand, you can specify any brand, as that is used for purely database purposes.
Your output should be as shown below:
Once it has completed the initial setup process for the firmware, it will provide you with an IP address. In case the firmware runs a web server, you should be able to access the web interface, as well as interact with the firmware over SSH and perform additional network based exploitation.
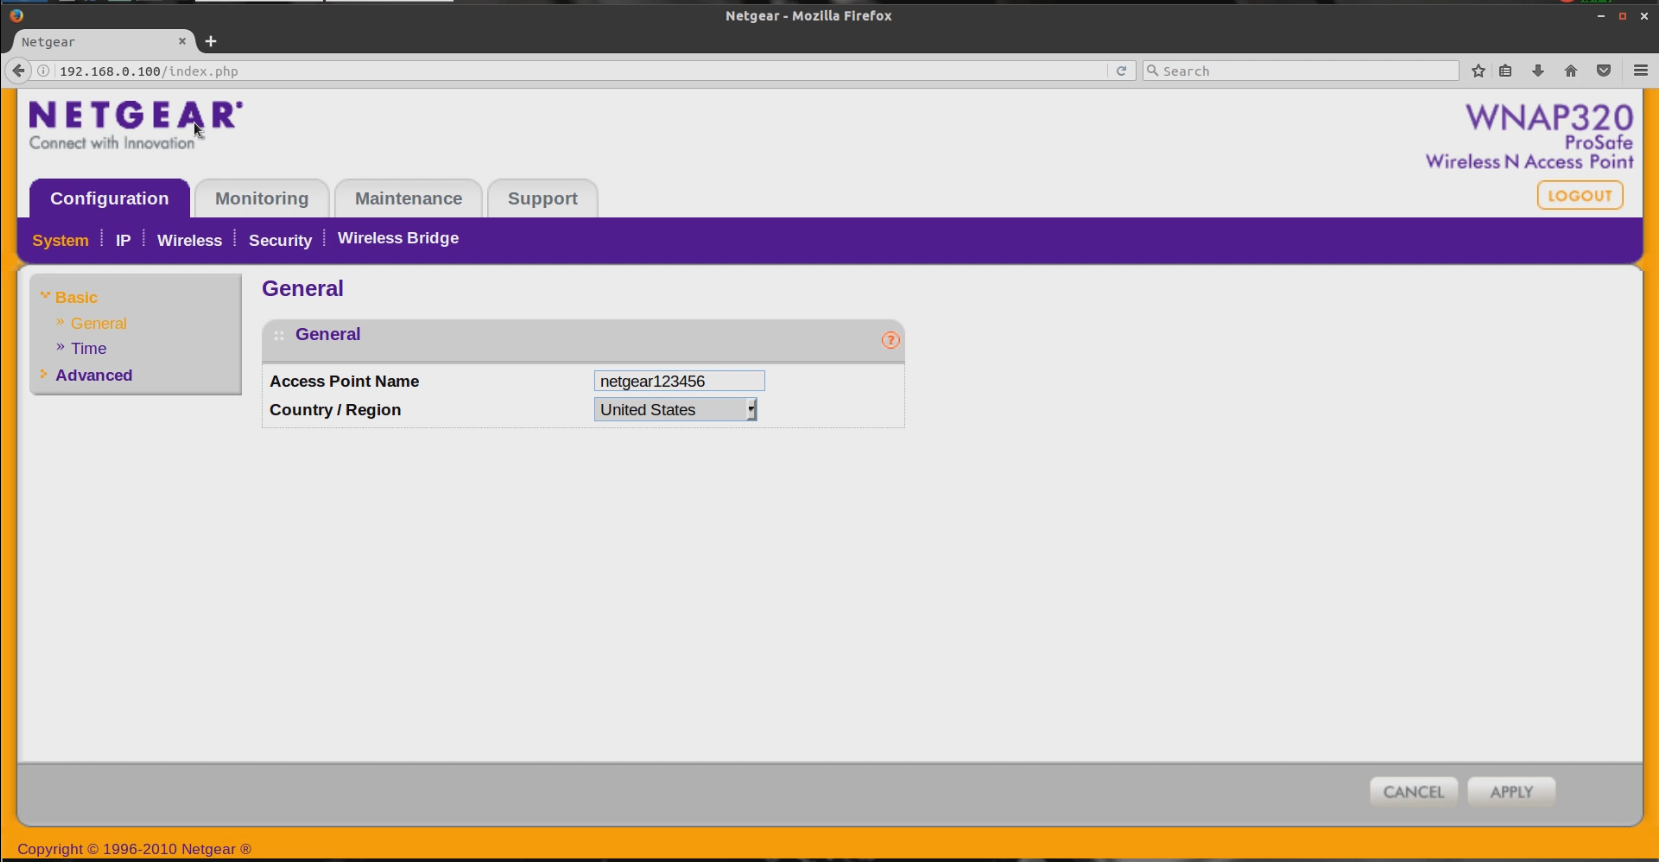
Let's now open up Firefox and see if we are able to access the web interface.
Congratulations!!! - we have successfully emulated a firmware (which was originally meant for MIPS Big Endian architecture) and even have the web server from within the firmware accessible!
That is all for this blog post. For any further queries, feel free to reach out to us using our contact page .
IoT Penetration Testing and Exploitation training

You can also now sign up for one of our public training bootcamps where you can learn all about IoT Exploitation (Embedded, Firmware, Radio, BLE, ZigBee, Binary etc.) - https://www.attify-store.com/collections/real-world-training/products/offensive-iot-exploitation-live-training

